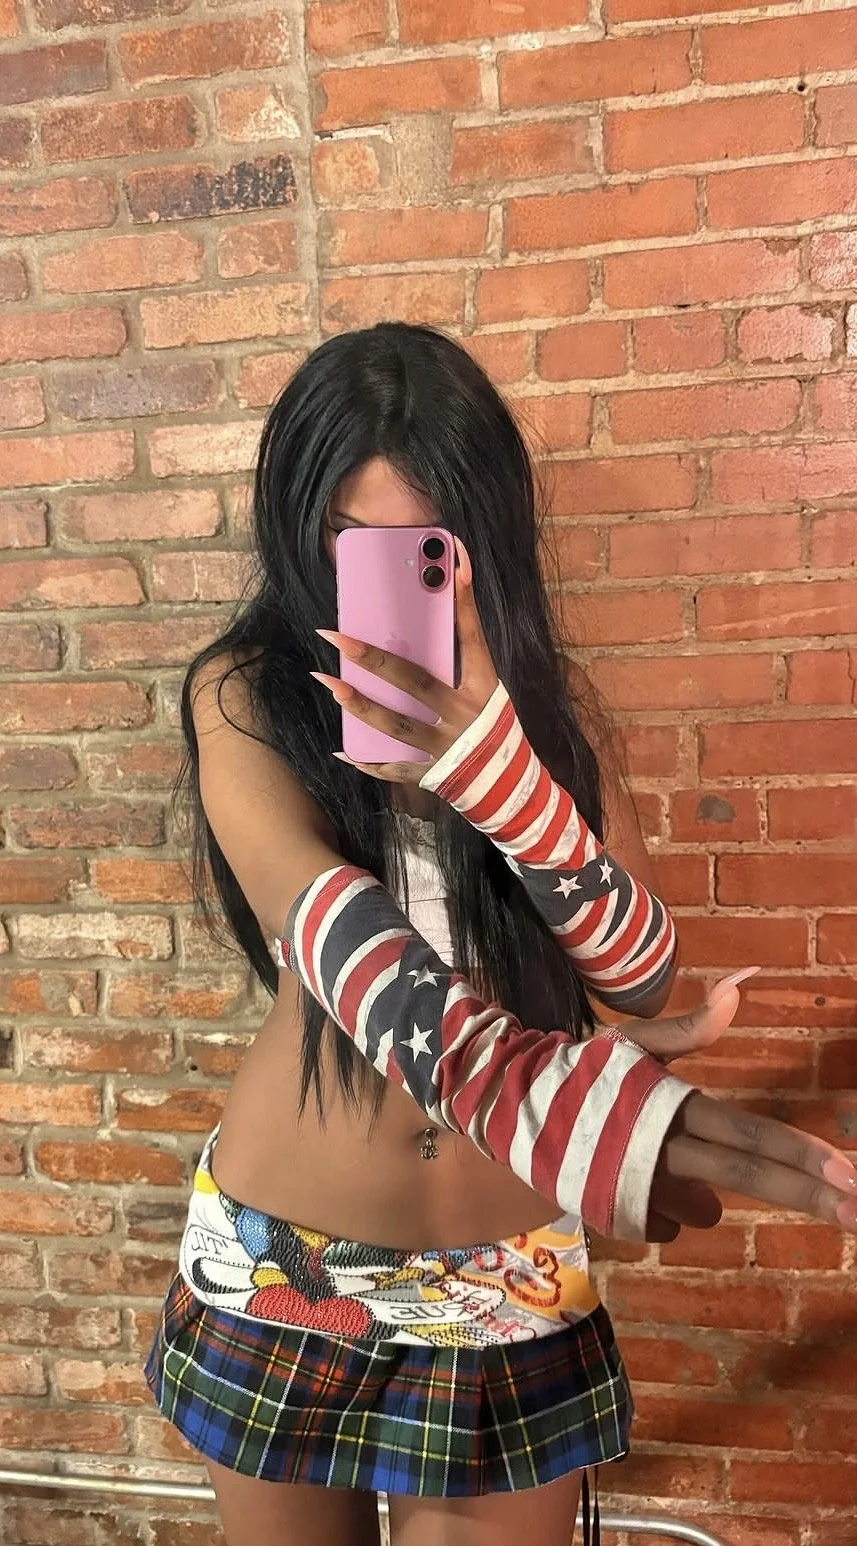
Not Your Average Plaid Skirt
Behind the Skirt
By: Jordin Cypress
“This skirt is inspired by prep wear and chaos, in the best way possible. I took a classic tartan fabric and gave it an attitude adjustment by layering it with a reconstructed waistband and corset-style lace-up sides. Because why settle for one story when you can tell three at once?
Most fashionistas don’t consider their style to fit one aesthetic, and this skirt is a combination of my favorites.”
Make It Yourself
What You’ll Need
A thrifted plaid skirt, preferably slightly oversized
A vintage T-shirt, scarf, or contrasting fabric to your plaid skirt
Scissors
Sewing machine or needle and thread
Grommets and a grommet-setting tool (any size you want - this skirt is unique to you!)
Ribbon or cord
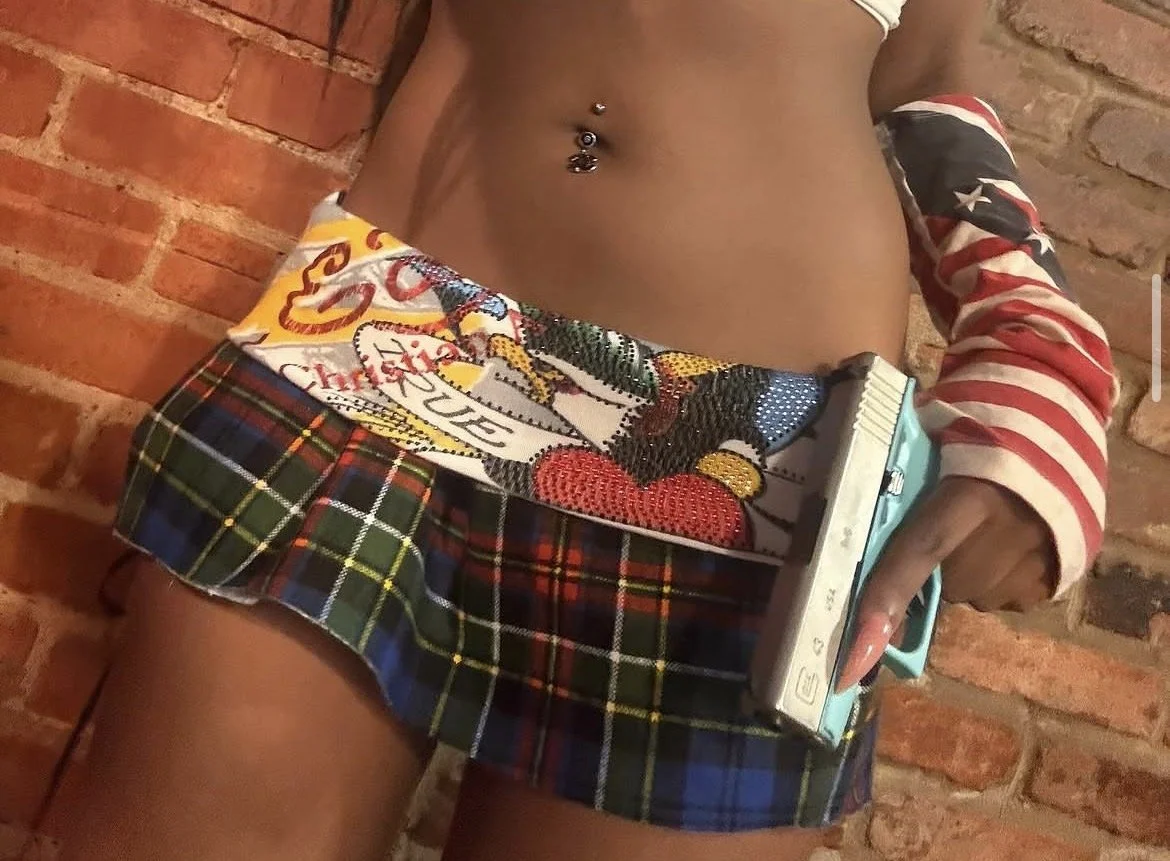
Instructions
Step 1: Deconstruct the Skirt
Begin with a thrifted plaid skirt. A slightly oversized skirt works especially well because it gives you more fabric to reconstruct.
Remove the existing waistband, taking care to preserve as much of the plaid fabric as possible.
NOTE: If your skirt isn’t pleated, first create pleats by folding and pinning the fabric evenly around the top edge of the skirt. Sew across the top to secure the pleats in place.
Step 2: Create a New Waistband
Replace the original waistband with a bold, contrasting fabric. Try repurposing a vintage T-shirt, scarf, or another textile loud enough to argue with the plaid. The contrast of colors and styles adds to the look.
Measure the fabric around your waist, leaving enough room for seam allowance and the adjustable lace-up sides. Attach it securely to the top of the skirt.
Step 3: Add Volume
If the skirt is already pleated, deepen or exaggerate the existing pleats.
Sew the pleats into place so the skirt flares outward, taking inspiration from Bratz dolls and early-2000s movie icons.
Step 4: Create the Lace-Up Sides
Cut a slit along each side seam, then mark where you want the grommets to sit.
Install the grommets along both edges of each opening. Thread ribbon or cord through them in a corset-style pattern.
The lace-up sides allow the skirt to cinch, adjust, and reveal as much or as little skin as you choose. Remember, this should feel customizable, not constrained.
Step 5: Make It Yours
Finally, experiment with different lacing materials or add in additional embellishments and designs.
“The final result? A skirt that can’t be mass-produced or ripped off overnight. It’s part school uniform, part streetwear, and a little bit punk. The best part about creating is—no one else has it.” - Jordin